Generator Load Bank Testing Procedure: Step-by-Step Guide [2026]
A proper generator load bank testing procedure follows seven steps: inspect the unit, connect the load bank, warm up the generator, apply load in timed steps (25%, 50%, 75%, 100%), monitor and record key parameters at each step, remove load gradually, and document the results. The whole test takes 1.5 to 4 hours depending on your compliance requirements.
- Pre-test inspection of fluids, batteries, connections, and exhaust
- Connect the load bank, ground first, all selectors at zero
- Start and warm up the generator for 5 to 15 minutes at no load
- Apply load in steps: 25%, 50%, 75%, then 100% with timed holds
- Monitor and record voltage, frequency, temperatures, and pressures at each step
- Step down gradually and allow a 5-minute no-load cool-down
- Inspect and report all readings, deficiencies, and corrective actions
That is the short answer. The longer answer matters more, because a generator that starts is not a generator that works.
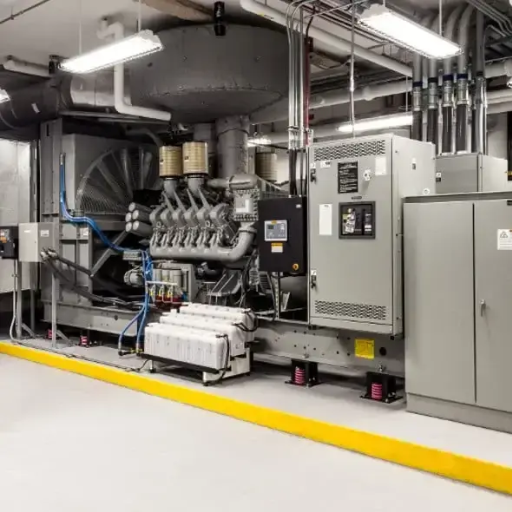
Consider what happened at a food processing plant in Ohio last year. Their 350kW standby unit passed every weekly no-load exercise for two straight years. The logbook looked perfect. Then a summer storm knocked out utility power, the generator took the building load, and it shut down at 60% capacity after 40 minutes. The post-failure inspection found severe wet stacking and a fuel delivery restriction that only showed up under real load. Nobody had ever run a documented step-loading test. The spoiled inventory cost more than a decade of professional testing would have.
If you maintain standby or prime power equipment, you already know monthly exercise runs are required. What many facilities miss is that exercise alone proves almost nothing about whether your unit can carry its rated load when the grid fails. Below, we walk through load bank testing step by step, using the exact procedure our engineers follow in ZC Power’s national standard testing center, complete with hold times, monitoring parameters, and the pass/fail criteria that most guides leave out.
Key Takeaways
- A complete load bank test has 7 steps: pre-test inspection, connection, warm-up, step loading, monitored holds, controlled step-down, and documented reporting.
- Apply load in stages (25%, 50%, 75%, 100%) with 10 to 15 minute stabilization holds at each step. Never jump straight to full load or unload all at once.
- Pass criteria: voltage within ±5% of rated, frequency within ±0.5 Hz steady-state, and coolant/oil temperatures stable within manufacturer specs.
- The 2025 edition of NFPA 110 sets the annual supplemental test at 1.5 continuous hours: 50% of nameplate kW for 30 minutes, then 75% for 60 minutes.
- A test without a written report does not exist for inspectors and warranty claims.
Preparing for the Load Bank Testing Procedure: What You Need
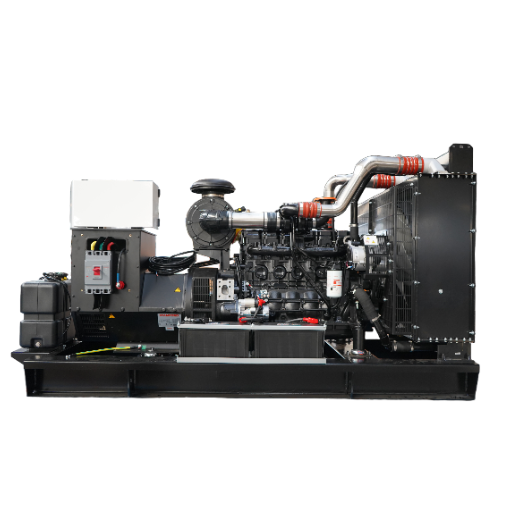
A load bank test stresses your generator at its full rated output. Showing up unprepared wastes the rental cost of the load bank and, worse, can damage the unit. Gather everything on this list first.
Equipment Checklist
- Correctly sized load bank. A resistive load bank verifies kW output and engine performance. A resistive-reactive unit also tests kVA, voltage regulation, and motor-starting capability, which matters for hospitals and data centers.
- Properly rated cables and terminations. Size cables for the full-load amperage with headroom. Undersized cables overheat under sustained load.
- Calibrated meters. Voltage, amperage, and frequency readings are only useful if the instruments are accurate.
- PPE and safety gear. Insulated gloves, arc-rated clothing where required, hearing protection, and safety glasses.
- Test log sheet. Every reading needs somewhere to go. A blank report template saves time and guarantees consistent records.
Sizing the Load Bank
Match the load bank capacity to the generator’s nameplate kW rating. For a 500kW standby unit, you need a load bank that can apply at least 500kW in adjustable steps. If you are testing for power factor and reactive performance, size in kVA instead. Our complete guide to generator load bank testing requirements covers resistive, reactive, and combined load bank types in detail, so we will not repeat that here.
Safety Requirements
Load banks convert electrical energy into heat. A 500kW unit is, in effect, a 500kW heater with fans. Respect the clearances.
- Maintain the manufacturer’s specified clearance around the load bank air intake and exhaust, typically 1 to 2 meters minimum.
- Position the unit so hot exhaust air cannot reach cables, fuel lines, or building intakes.
- Check cable temperature by hand (power off, load removed) at each step change during the first test with a new setup.
- Apply lockout/tagout to building circuits before connecting anything.
- Assign a fire watch for tests near combustible materials.
Want this checklist as a printable document? Contact the ZC Power engineering team and we will send you our generator load bank test checklist plus a blank load bank test report template, the same documents our technicians use on the testing floor.
Step 1: Pre-Test Inspection
Roughly 80% of generator starting failures trace back to batteries, and most load-side failures trace back to fuel, cooling, or connection problems. A 15-minute inspection catches both before they ruin a scheduled test.
Work through this checklist before starting the engine:
- Engine oil: Level within marks, no milky discoloration (a sign of coolant contamination).
- Coolant: Level correct, hoses firm, no dried residue around clamps or the radiator cap.
- Fuel system: Tank level adequate for the full test duration, water separator drained, fuel quality verified. Plan on roughly 0.25 to 0.30 liters per kWh at full load for a modern diesel.
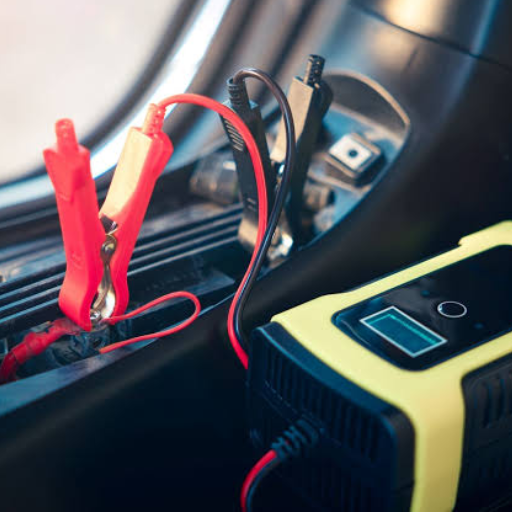
- Batteries: Voltage above 12.4V (24.8V for 24V systems) at rest, terminals clean and torqued, charger functioning.
- Exhaust system: No leaks, cracks, or soot streaks at joints. Black liquid dripping from exhaust joints is a wet stacking warning sign.
- Electrical connections: Output lugs tight, no heat discoloration on terminals.
- Nameplate verification: Confirm the rated kW, kVA, voltage, and phase configuration. Your load bank settings must match these figures.
Document any deficiency before proceeding. If something fails this inspection, fix it first. Testing a sick generator at full load turns a maintenance issue into a rebuild.
Step 2: Connect the Load Bank
Connection order matters for safety. Always connect in this sequence:
- Verify the generator is off and the output breaker is open.
- Connect the ground conductor first.
- Connect phase conductors, confirming phase rotation on three-phase systems.
- Torque all lugs to specification. Loose connections under sustained load create hot spots, and hot spots become fires.
- Confirm every load bank selector switch is at zero.
One more critical requirement for emergency systems: if utility power fails during your test, the load bank must disconnect automatically and the actual building load must transfer to the generator through the automatic transfer switch (ATS). Manual switching does not satisfy NFPA 110. Verify this interlock works before the test, not during an outage.
Step 3: Start and Warm Up the Generator
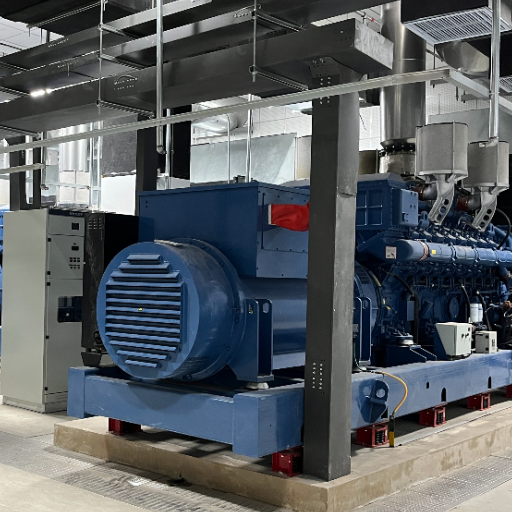
Start the generator and let it run with no load for 5 to 15 minutes until it reaches normal operating temperature. Cold engines tolerate load poorly, and cold readings are meaningless as baselines.
During warm-up, verify two things:
- Output voltage is stable at the rated figure on all phases.
- Frequency is stable at 50 Hz or 60 Hz, depending on your unit.
Record these no-load baseline readings on your log sheet. If voltage or frequency hunts at no load, stop here. That problem will only get worse under load, and diagnosing it on a hot, loaded machine is harder and riskier.
Step 4: Apply Load in Steps
The step-loading sequence below is the standard diesel generator load test procedure for both standby and prime power units. Apply load incrementally, never all at once. Sudden full-load application can trip protection systems, stall the engine, or mask transient problems that stepped loading would reveal.
The Step-Loading Sequence
- 25% load: Hold 10 to 15 minutes. Let readings stabilize, then log them.
- 50% load: Hold 10 to 15 minutes. Log all parameters.
- 75% load: Hold 10 to 15 minutes. Log all parameters.
- 100% load: Hold for the duration your test type requires (see below).
Timed Protocols by Test Type
How long you hold full load depends on why you are testing:
| Test Type | Full-Load Duration | Purpose |
|---|---|---|
| Commissioning / acceptance | 1 to 2 hours at 100% | Verify the unit delivers rated output |
| Factory acceptance test (FAT) | 1 hour at 100%, plus 1 hour at 110% overload | Manufacturer certification |
| NFPA 110 annual supplemental (2025 edition) | 30 min at 50% + 60 min at 75% (1.5 hours total) | Code compliance when monthly tests fall short |
| Wet stacking remediation | 2 to 4 hours at 75% to 100% | Burn off carbon deposits |
A note on code editions: the 2025 edition of NFPA 110 replaced the older 2-hour protocol (25%/50%/75% steps) with the 1.5-hour version above. Some authorities having jurisdiction and healthcare accreditors still enforce the older protocol, so confirm which edition applies to your facility before scheduling. For commissioning and acceptance tests especially, insist on documentation that ties back to the original build quality — reputable CE certified generator manufacturers supply units that pass these protocols the first time because compliance is engineered in from the start. For the full testing schedule, including monthly exercise rules and the triennial 4-hour test, see our NFPA 110 compliance guide.
Step 5: Monitor and Record at Every Step
A load bank test without data is just expensive noise. Log every parameter at every step, and compare each reading against acceptance criteria.
Parameters to Log
- Voltage, all phases
- Amperage, all phases
- Frequency (Hz)
- Power factor (for reactive-capable load banks)
- Oil pressure
- Coolant temperature
- Exhaust gas temperature
- Exhaust smoke observation
- Abnormal noise or vibration
Pass/Fail Acceptance Criteria
Here is what separates a real test from a ritual. These are typical acceptance values; your engine and alternator manufacturer specifications always govern:
- Voltage: Within ±5% of rated under steady load. A quality automatic voltage regulator (AVR) should hold ±1%.
- Frequency: Within ±0.5 Hz steady-state. On a load step change, frequency may dip briefly but should recover within 5 seconds.
- Coolant and oil temperatures: Within the manufacturer’s specified range and, critically, stable rather than climbing through the hold period.
- Exhaust smoke: Light haze for the first 30 seconds of a load step is normal. Sustained black smoke at steady load is a fail.
- Oil pressure: Within spec and stable. Fluctuating pressure under load points to pump or bearing wear.
Mid-Test Troubleshooting
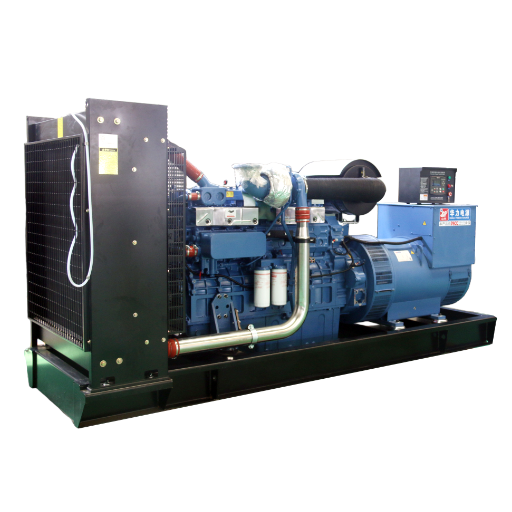
When a reading goes wrong mid-test, this table covers the most common causes:
| Symptom | Likely Cause | Action |
|---|---|---|
| Voltage droop under load | AVR fault, undersized cables, loose connections | Check connections first, then AVR |
| Frequency hunting | Fuel delivery restriction, governor issue | Inspect fuel filters and supply lines |
| Coolant temp climbing | Radiator blockage, low coolant, fan or pump fault | Reduce load, inspect cooling system |
| Sustained black smoke | Overfueling, injector wear, wet stacking residue | Note the load step where it appears; plan fuel system service |
| Exhaust temp imbalance between cylinders | Injector or valve problem on one cylinder | End test, schedule engine diagnostics |
We see the value of full-load holds on our own testing floor regularly. Last spring, a 500kW unit bound for a mining customer held voltage and frequency perfectly through 75% load. At 100%, frequency started hunting within 20 minutes. The cause was a partially restricted fuel line, invisible at lower loads. That unit shipped two days late and decades more reliable. A 30-minute partial-load test would have missed it completely.
Step 6: Controlled Step-Down and Cool-Down
Ending the test correctly matters as much as running it. Remove load in reverse steps, working back down through 75%, 50%, and 25% with a few minutes at each level.
Never dump 100% load in a single action. Sudden full unloading sends the alternator and voltage regulator into a transient spike that shortens component life. It also shocks the engine from full combustion temperature to idle instantly.
After stepping down, let the generator run unloaded for about 5 minutes. This cool-down period lets coolant circulate through hot spots in the block and turbocharger, preventing heat soak damage. Then shut down normally.
Step 7: Post-Test Inspection and Reporting
With the unit off, repeat the essentials of your pre-test inspection. Look for anything the test disturbed:
- Fluid levels and any new leaks
- Connection points for heat discoloration
- Exhaust joints for fresh soot streaks
Then complete the test report. A compliant report includes:
- Date, unit ID, and technician name
- Load bank type and capacity used
- Load steps and hold durations
- All logged parameters at each step
- Deficiencies found and corrective actions taken
- Ambient conditions (temperature affects cooling performance)
Retain records for a minimum of 3 years. Healthcare facilities and any site subject to NFPA 110 inspection should treat this as non-negotiable, since surveyors routinely ask for historical test documentation.
Factory Testing vs On-Site Testing: The FAT Perspective
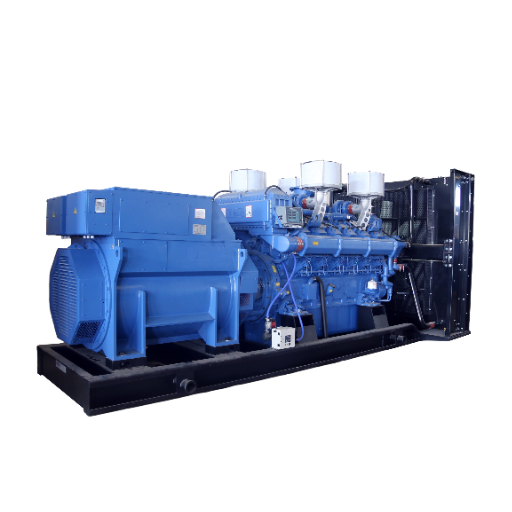
Everything above applies both in the field and on the factory floor, but the factory version carries one extra step. The generator acceptance testing procedure defined in the ISO 8528-6 framework requires manufacturers to verify gensets against declared performance classes before shipment, including sustained full-load runs and overload verification. If you are sourcing overseas, this factory test report is one of your strongest safeguards — knowing how to verify a Chinese generator factory and demanding documented FAT results separates genuine builders from resellers who never load-test at all.
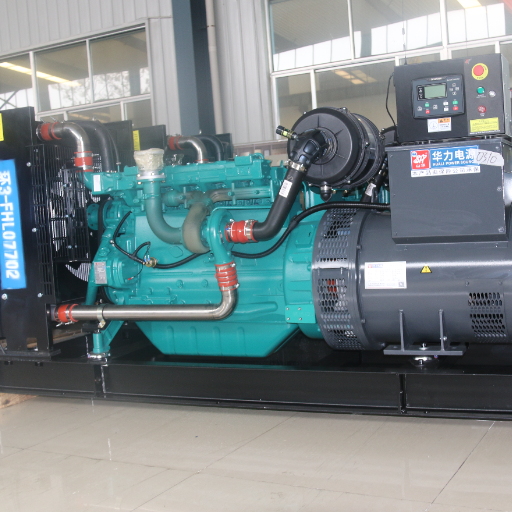
At ZC Power, every generator set we build, from 8kVA portable units to 4000kVA containerized power stations, goes through this exact procedure in our national standard testing center. Each unit runs at 100% rated load and then at 110% overload before it ships. The completed test report ships with the machine.
Why does that matter to you? When your authority having jurisdiction schedules a witness test, or when your commissioning team runs the site acceptance test, you start from documented factory proof rather than promises. Units that arrive with legitimate full-load test records are commissioned faster, and surprises during witness tests become rare.
Load Bank Testing Procedure: Frequently Asked Questions
How long does a load bank test take?
Plan on 2 to 4 hours total for most tests. That includes inspection, setup, warm-up, the loaded run itself (1.5 hours for the NFPA 110 annual protocol, up to 4 hours for extended commissioning tests), step-down, cool-down, and reporting.
What happens if a generator fails a load bank test?
Stop the test safely, document the failure point and symptoms, and diagnose the cause before retesting. Most failures trace to fuel delivery, cooling, or voltage regulation issues. A failed test is the procedure working as intended: it found the problem while the grid was still up.
Can I do load bank testing without disconnecting the building power?
Yes, and that is the point of a load bank. The artificial load connects to the generator output, letting you test at full rated capacity without involving building circuits at all. Facilities running emergency power systems still need the automatic interlock that switches to building load if utility power fails mid-test.
What size load bank do I need for my generator?
Match the load bank to the generator’s nameplate kW rating, with adjustable steps at 25% intervals. For a 500kW genset, that means a 500kW-capable load bank minimum. Facilities with several generators often size one load bank for the largest unit and step-test the smaller ones.
How often should the procedure be repeated?
NFPA 110 requires monthly exercise at 30% of nameplate load or more, plus an annual supplemental load bank test when the building load cannot reach that threshold. Level 1 systems also require a 4-hour test every 36 months.
Conclusion
A generator load bank testing procedure is only as good as its discipline. Run all seven steps: inspect, connect, warm up, step the load, monitor and record against real acceptance criteria, step down gradually, and document everything. Skip a step and you have not tested your generator; you have just run it.
The stakes are concrete. Facilities that test on procedure catch fuel restrictions, cooling faults, and wet stacking while the grid is still available. Facilities that skip testing meet those same problems during actual outages, at the worst possible moment and the highest possible cost.
Whether you maintain a single hospital standby unit or a fleet of prime power gensets on a remote site, the procedure above gives you defensible, repeatable results. And if you would rather start with a machine that has already proven itself at 110% of rated load, our engineers are ready to help.As a full-service diesel generator set manufacturer, ZC Power ships every unit with a documented factory load test report, so your on-site commissioning starts from proof rather than promises.
Contact the ZC Power engineering team for the printable test checklist, a factory-direct quote on load-bank-certified generator sets, or guidance on permanent load bank solutions for lightly loaded sites.